Simplifying Server & Deployment Management with Komodo
Simplifying Server & Deployment Management with Komodo
Introduction
Komodo offers a unified platform for managing servers and automated deployments, making server management simpler and more streamlined.
Unlike Portainer, Komodo is free and open-source, making it ideal for home labs and small businesses. While it lacks some advanced features like identity/access management and Kubernetes support, it excels in managing Docker-based environments.
What’s Komodo All About?
At its core, Komodo is a web application designed to streamline the management of servers, builds, deployments, and automated tasks. It takes on the heavy lifting of connecting multiple servers, monitoring system performance, and handling Docker containers—all through a user-friendly interface.
Key Features That Stand Out
Server Management & Monitoring:
- Connect multiple servers and keep a close eye on CPU, memory, and disk usage.
- Get notified before issues escalate.
Container Control:
- Easily manage Docker containers—start, stop, restart, and monitor logs effortlessly.
Docker Compose Deployment:
- Deploy Docker Compose stacks directly from the UI, host files, or even pull them from a Git repository.
Automated Builds & Deployments:
- Automate application source code builds into versioned Docker images.
- Supports single-use AWS instances for extra capacity when needed.
Config & Secrets Management:
- Securely store and manage environment variables and secrets across multiple environments.
Advanced API & Developer-Friendly Tools:
- Exposes an RPC-like HTTP API for seamless integration with Rust & TypeScript clients.
- Supports custom scripts in TypeScript for executing specific operations.
Setting Up Komodo
Komodo uses a Docker Compose setup consisting of three key components:
- Core: The API and UI that handle server and container management.
- Periphery: Lightweight agents running on connected servers, executing actions and retrieving system metrics.
- Database: Stores configuration, logs, and metadata.
Step-by-Step Setup:
- Clone the repository from GitHub.
- Configure the environment variables.
- Deploy using
docker-compose up -d.
Once running, log into the Komodo UI and start managing your infrastructure effortlessly.
Installing Docker with APT Repository
Before installing Komodo, ensure Docker Engine is installed on your system. Follow these steps to set up Docker using the APT repository (Ubuntu). For full instructions, refer to the official Docker documentation.
Step 1: Add Docker’s Official GPG Key
1 | sudo apt-get update |
Step 2: Add the Docker Repository
1 | echo \ |
Step 3: Install Docker
To install the latest version of Docker, run:
1 | sudo apt-get install docker-ce docker-ce-cli containerd.io docker-buildx-plugin docker-compose-plugin |
Step 4: Verify the Installation
Run the following command to verify Docker is installed correctly:
1 | sudo docker run hello-world |
This command downloads a test image and runs it in a container. When executed, it prints a confirmation message and exits.
Configuring Komodo with Secure Passkey
I highly reccomend MongoDb than Sqlite when configuring originaly supported for and the other verions are supported due to then your core as it is due to the FerretDB Mongo Adapter (https://www.ferretdb.com/).
Initial login
Core should now be accessible on the specified port, so navigating to http://<address>:<port> will display the login page. Enter your admin username and password, and click “Sign Up”, not “Log In”, to create the initial user.
Setting Up Komodo Core via MongoDB
Same steps extracted from here: https://komo.do/docs/setup/mongo
1. Copy over yaml and enviroment files.
1 | wget -P komodo https://raw.githubusercontent.com/moghtech/komodo/main/compose/mongo.compose.yaml && \ |
2. Edit Database Credentials (for MongoDB):
Change your default admin credentials
1 | KOMODO_DB_USERNAME=admin |
Make sure to change this ‘secure’ admin credentials
Secure Passkey for Core/Periphery Authentication:
1 | KOMODO_PASSKEY=some-passkey |
Notice: If you intend to use this for actual production purposes, regardless of its CI/CD capabilities, please review all the configurable environment details of the compose.env file. The ones I’ve listed are the bare minimum and should not be considered the standard.
3. Deploying Komodo
To launch Komodo with Docker, use the following command:
1 | docker compose -p komodo -f komodo/mongo.compose.yaml --env-file komodo/compose.env up -d |
Note: After the initial boot, make sure to sign up and sign in manually as the system doesn’t automatically register you.
Adding Servers to Your Komodo Dashboard
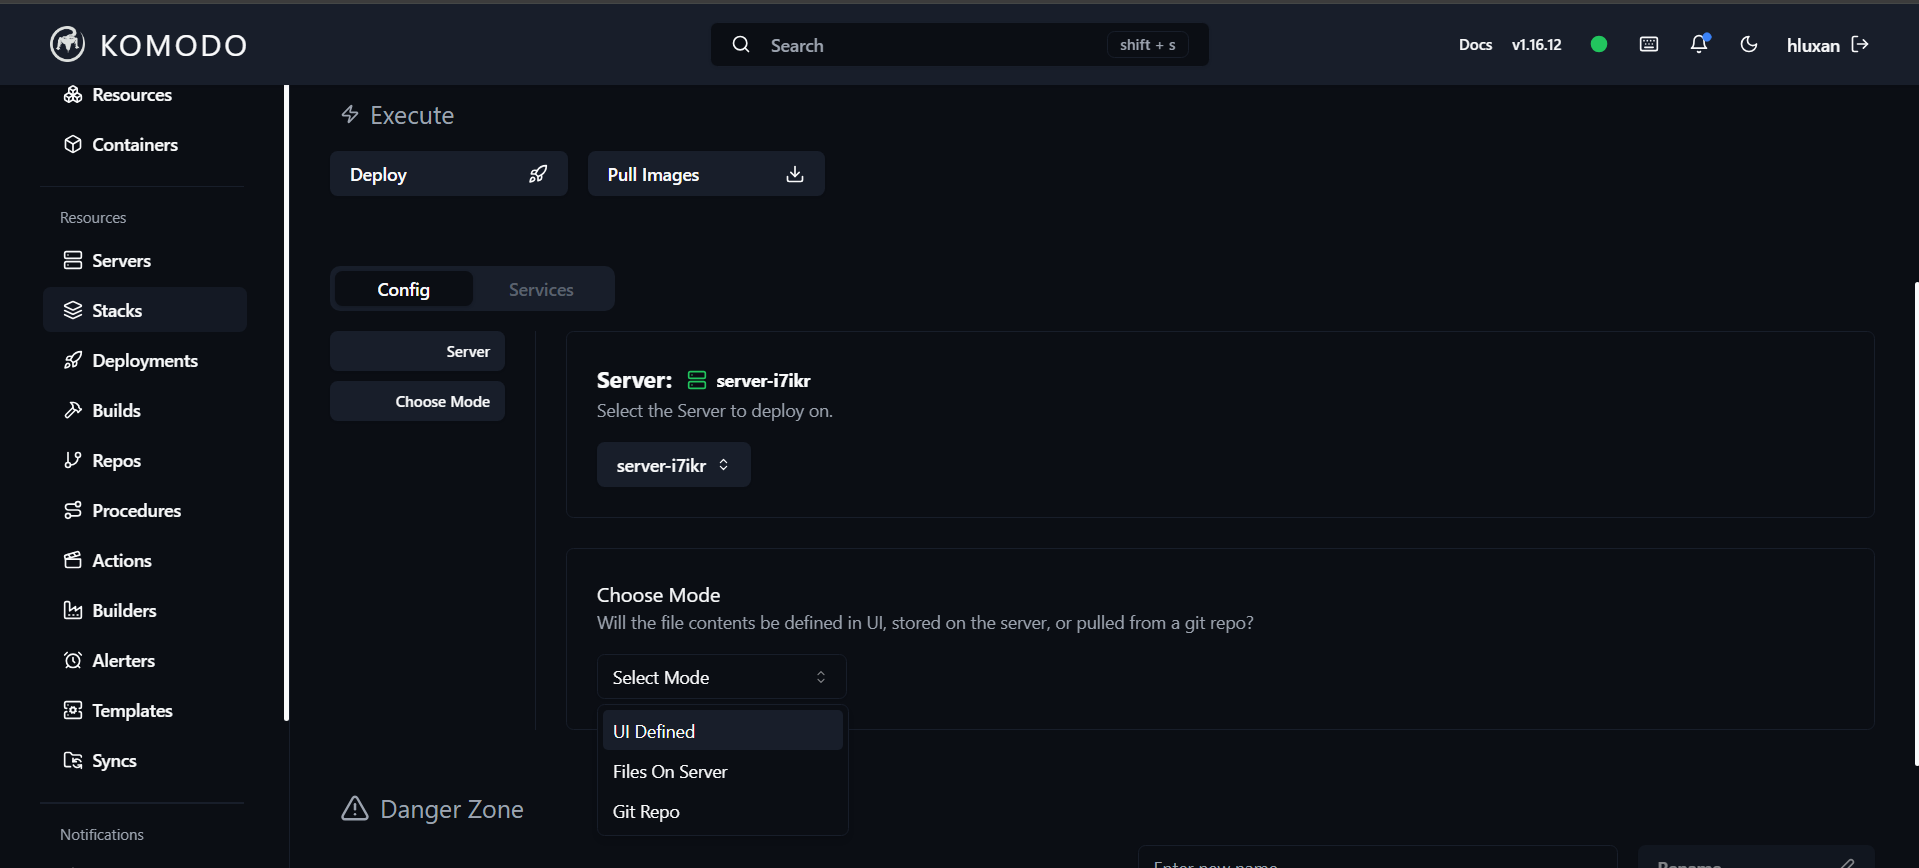
Under the Resources tab, you can manage and add additional servers:
- Stacks: Manage Docker Compose files.
- Deployment: Create stacks from scratch.
- Additional features such as Builds, Procedures, Builders, Alerters, and Templates are available, though some are behind a paywall in which are explorable via Komodo.
Deploying Docker Containers in Komodo
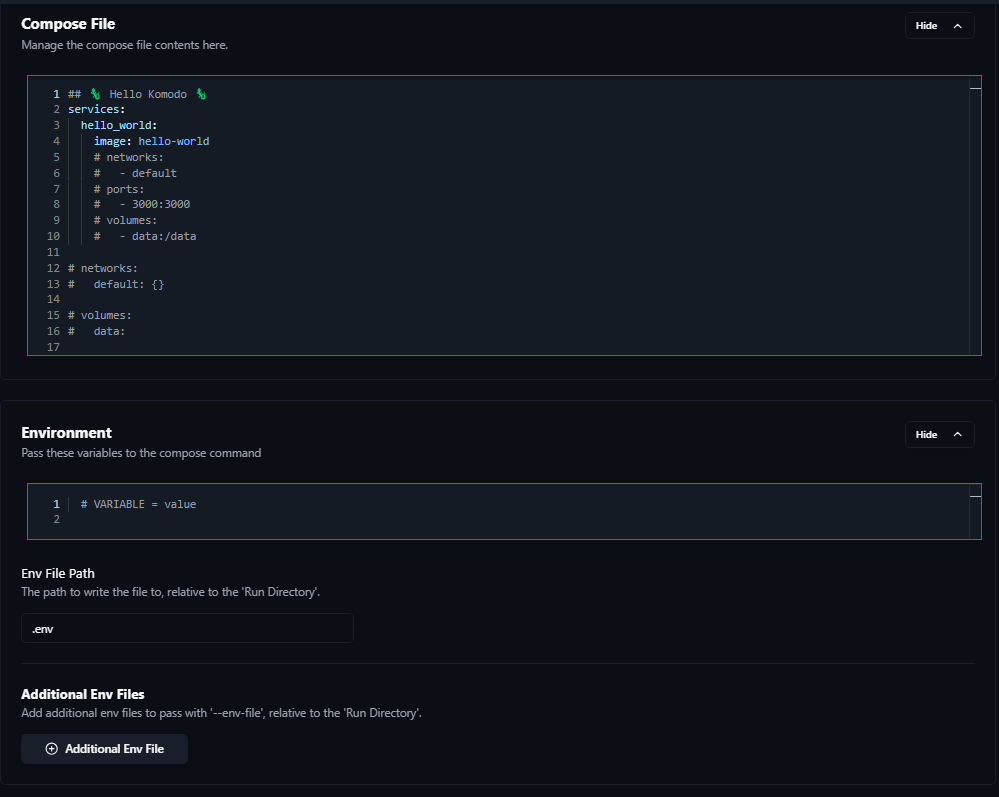
To start a Docker container in Komodo, go to Stacks and select the UI Defined option to see all familiar aspects from Portainer. This will allow you to deploy and monitor containers with ease.
Make sure to save your Docker code and variables before deployment to avoid losing any configurations. It’s also a good idea to enable Poll For Updates and Auto Updates.
User Experience
The UI in Komodo is intuitive and similar to Portainer. It allows you to see any issues if a Docker command or container fails, making it easy to troubleshoot.
Final Thoughts
If you’re in Self-Host or DevOps and need a robust, open-source solution for server and deployment management, Komodo is worth exploring. It’s efficient, developer-friendly, and keeps your infrastructure secure and optimized.
Try it out, experiment with its features, and let me know your thoughts. Happy deploying!
If you dislike komodo due to its complexity some other alternatives are open-source and manages docker via GUI worth checking out are DockGE, Dozzle and Yacht.